
So here's my "before" pictures. Nothing to be proud of that's for sure.


Now I don't want to name names, but there are 3 (and maybe a fourth who will remain anonymous) who are responsible for those before pictures. We do have a lock on our pantry, but some people and again I don't want to point fingers
 forget to lock it and some little fellow tends to think of this as his all-you-can-eat buffet.
Then one night, I was perusing blogland and came across this pantry. Oh my goodness, my heart it was all aflutter. I know some people feel this way when they see shoes or a purse, but this was my obsession. And then I came across this and I became completely obsessed with redoing mine. I looked and took notes on each of those pantries, mine was very similar in size so I tried to figure out what elements I could borrow from each that would a) fit my needs b) make it doalbe for a not so handy DIYer c) be affordable.
First, I knew my shelves had to go and that's where I spent the bulk of my budget. The shelves were thin particle board with a flat paint on them-impossible to clean. And we had added our own shelf along the top which did not match. So I contacted our cabinet guy and he put 1 inch think melamine shelves. That alone was a huge improvement.
I also spent some time shopping for containers. In the first pantry, she bought lots of her containers at thrift stores. Let me tell you, there are no thrift stores around here that are, um, thrifty! My friend and I went to an Antique Fair hoping to score some unique items, came home with an overpriced wooden crate, but struck out there as well. So it was trips to Marshalls, Walmart, Bed Bath and Beyond, Lowes and the Container store eying solutions for my pantry.
So with the new shelves in and all the food boxed up, next came my job. Painting. I love how bold the first pantry was, but I'm not that daring and really couldn't come up with a complimentary color that would look good in a pantry, so I went for a very light beige (boring, I know). I also knew at this point, that I did not want to be painting this again because I didn't like the color, so beige it is. I also loved the idea of the wallpaper in the second post. Chris did not. He's anti-wallpaper. But I love beadboard so he let me have my way. I just put it on the one wall and then painted it white. It's hard to tell from the pictures, but I'm really happy with the result. So here are (lots) of pictures of the after.


You can kind of see the beadboard here. To the left is an electrical panel which is why the shelves don't wrap around. That empty space right there is for my crockpot (need to get a new one). The bins below are from The Container Store. They are so far my favorite storage solution. One of them holds "Jack" foods and the other bulkier snacks that I removed from the boxes-popcorn, juice boxes, fruit bars, etc...

Those baskets I picked up at Lowes. I also did some rearranging of the food. I took the suggestion of moving the soup cans down low and it really is a better spot for them.

This is at the very top. I had it lower in the other pantry, but I realized that I don't access it very often and Jack was getting into them and making a mess, so to the top it goes. I keep cookie cutter, cupcake liners, plastic utensils, leftover party paper goods, etc.. Each drawer is labeled.

More baskets. One contains disposable containers, paper plates/cups and the other is extra wraps like foil, bags, etc...

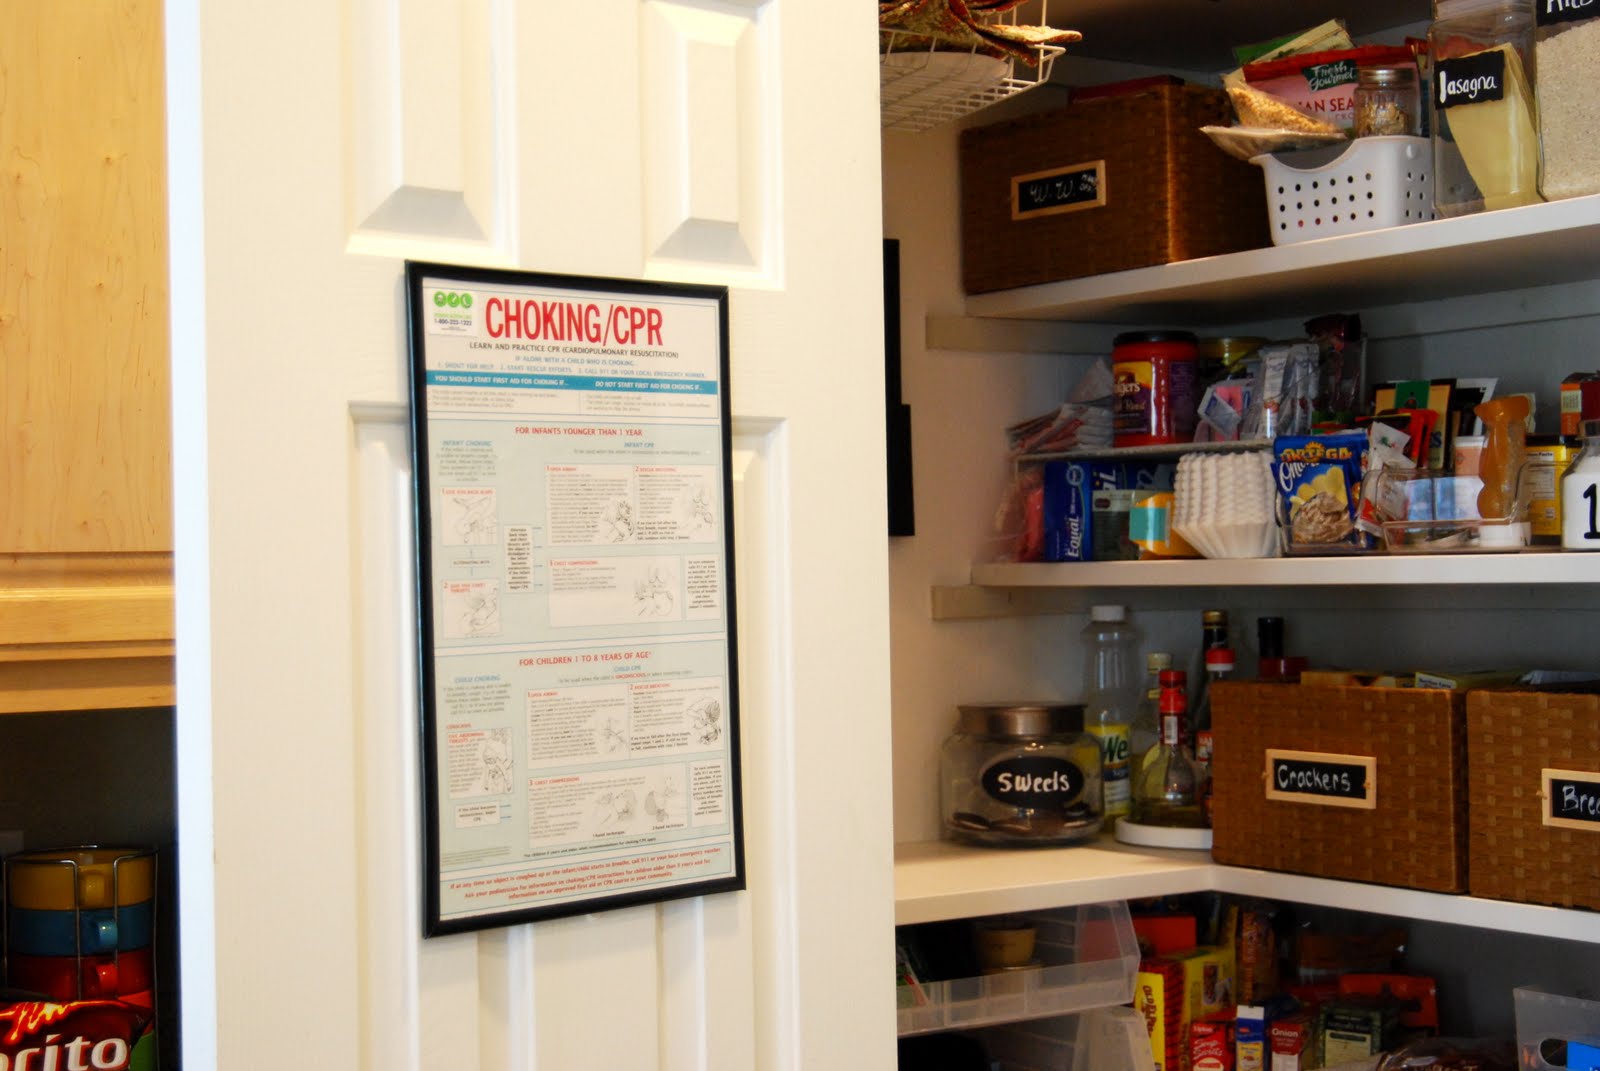
I can't remember where I got this, but I've had this CPR poster taped to the inside of my pantry for years. I bought a cheap lightweight frame from Michaels and framed it. I also added a sticker with poison control's number on it.
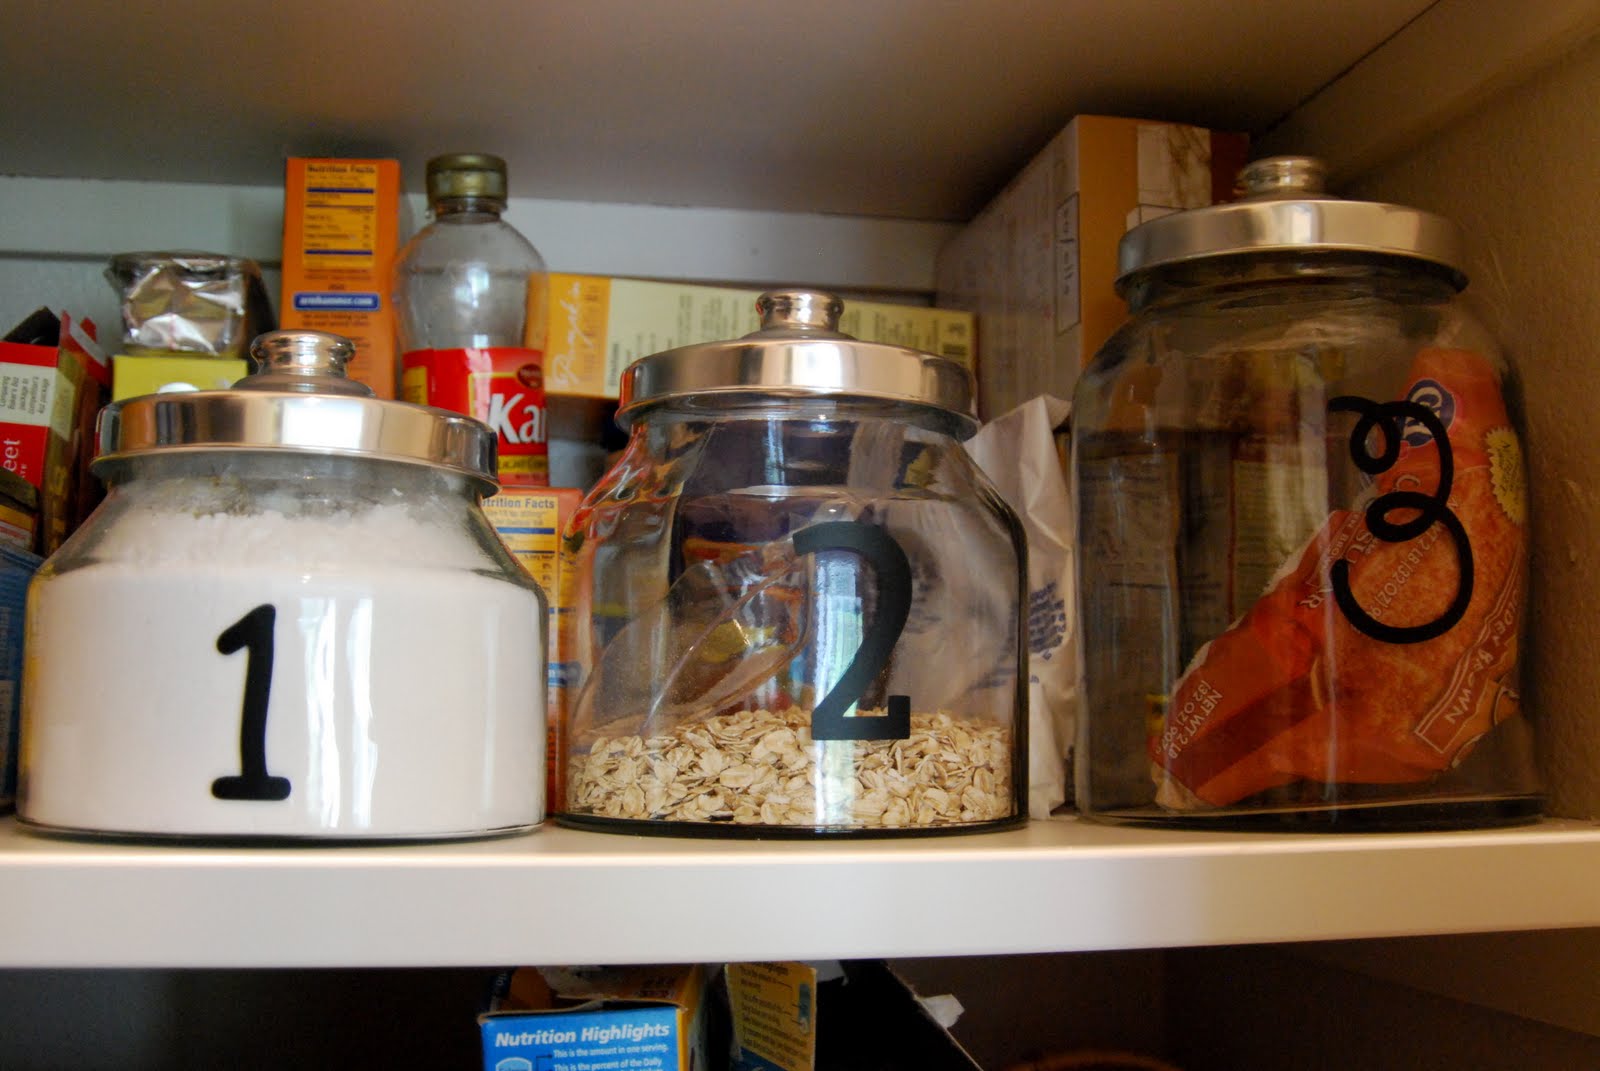
This was the last thing I did-added vinyl numbers cut from my Cricut. Had this been the first thing, I might have put vinyl on everything. Wow, it's easy and kind of a fun break from scrapbooking (I may have a new hobby!).
I borrowed the idea to use some carousels in the corner. I love how this is now usable space. (By the way, in the old pantry I had two support boards that further prevented me from using this space. It's so much more open now.)


I put lunch bags, sandwich bags, some plastic utensils, Jack's snack bags-pretty much everything you need when making brown bag lunches.

Not a great picture, but inside this collage are pictures of the kids eating food. Kind of silly, but I think this is one of the things I like best.

Well thanks for taking a look. We are a month out from this completed project and I'm pleased to report that everything is still in it's place and it's been super easy to maintain.

4 comments:
I think it looks wonderful! Love that you added the personal touch with the pics of your kids. I wish my pantry was a walk-in!!
Visiting from Thrifty Decor Chick. Hope you'll stop by my blog to say hi. :)
I LOVE it! I am so jealous- we don't have a pantry.
Julie love the new pantry. I live in my kitchen so I understand the passion to re-do.
Your pantry looks great! I just re-organized our as well. Doesn't it just make you feel so much better?? What a great idea to hang the CPR sheet inside the door.
Post a Comment